
Metal grommets are quick, but they tear out of linen, show at a glance and were not how sixteenth-century tailors closed a bodice. Hand-sewn eyelets are stronger than they look, cost almost nothing, and once you have made the first half-dozen they go surprisingly fast. All you need is an awl, a needle, strong thread and an evening.
Tools and thread
- An awl or stiletto. A smooth, tapered point that parts the threads of the fabric rather than cutting them.
- Strong thread. Linen thread or silk buttonhole twist, run through beeswax so it does not tangle or fray.
- A short, sturdy needle and a thimble, because you will be pushing through several layers.
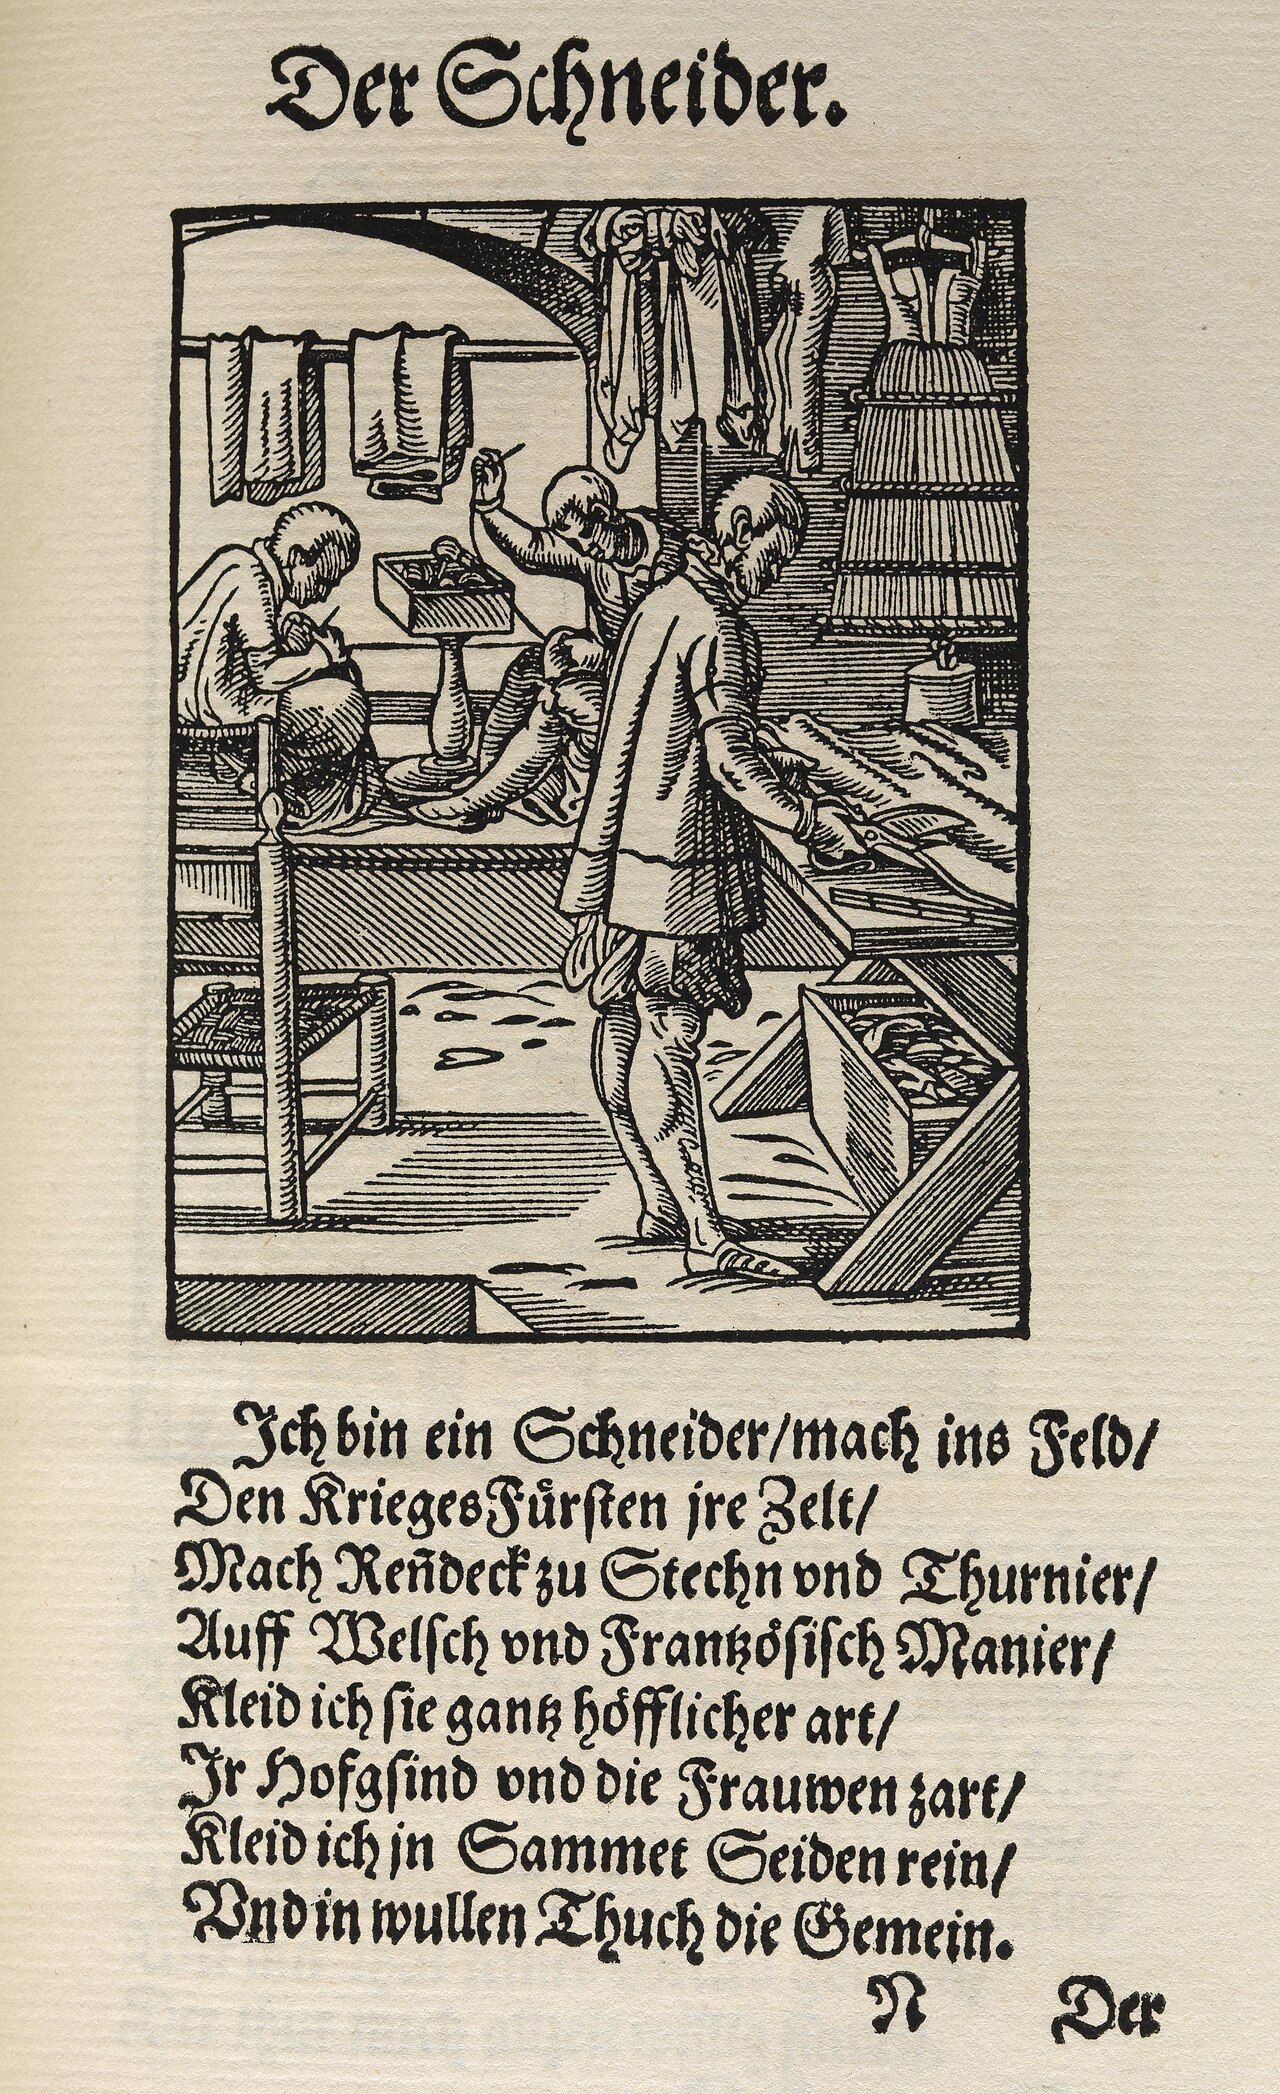
A tailor's workshop in Jost Amman's Book of Trades, 1568: journeymen sew cross-legged on the bench while the master cuts cloth. Every lacing hole they made was worked by hand, with the same handful of tools you need today.
Mark the spacing
Work out the eyelet positions before you make a single hole. For a bodice, spacing of around two to two and a half centimetres is a good starting point. If you are using spiral lacing, which suits the period, offset the two edges by half a space so the lace runs in a single spiral from top to bottom. Keep the eyelets about half a centimetre in from the edge, and make sure there is something firm behind them: a boned edge, a cord or a few extra layers of linen.
Open the hole with the awl. Never cut it. Parted threads close up around the stitches; cut threads only fray.
Working the eyelet
- Push the awl through from the right side, working it round until the hole is a little smaller than you want the finished eyelet to be.
- If the fabric is loose or light, run a ring of tiny running stitches around the hole first. This gives the eyelet something to grip.
- Bring the needle up just outside the hole, take it down through the centre and back up beside the last stitch. Pull each stitch firmly so the thread beds into the edge.
- Keep the stitches close and even, working all the way round. Re-open the hole with the awl halfway round if it starts to close.
- Finish on the wrong side by running the thread back under the stitches, then give the eyelet a last turn with the awl to round it off.
Overcast eyelets like these are the simplest, and they are perfectly strong for lacing. You can also work the edge in buttonhole stitch, which leaves a small knotted ridge around the hole; it takes longer but suits eyelets that will take a lot of strain.
Common problems
- Eyelets pulling out of shape: the edge needs more support behind it. Add a cord or a strip of stiff linen along the lacing edge.
- Gaps in the stitching: pull each stitch tighter and keep them closer together. More stitches make a stronger eyelet.
- Uneven sizes: mark each hole and use the same depth on the awl every time. A pencil mark on the shaft helps.
Make a sample strip of six eyelets before you start on a real garment. By the sixth one your stitches will be even, your tension consistent, and you will have a feel for how far to push the awl. After that, a full bodice is simply an evening's work with a good audiobook.


